
Every carpenter has faced the frustration of running a hand across what should be a finished surface, only to feel an unwanted ridge or dip that throws off the entire piece. These imperfections often trace back to a single root cause: imprecise measurements taken before the sanding process began. When you don’t know exactly where material needs to be removed—or how much—you’re essentially working blind, and the results show it.
The sanding combo has long been a staple in achieving professional-grade finishes, offering versatility across grits and applications. But pairing it with laser measuring tools transforms the entire workflow from guesswork into a science. This guide explores how carpenters can integrate these two tool categories to achieve consistently flat, smooth, and dimensionally accurate surfaces. Whether you’re fitting cabinet faces, leveling tabletops, or preparing joints for assembly, the combination of precise digital measurement and controlled material removal addresses the core challenges professionals face daily. If you value accuracy and demand durability from your equipment, this approach will fundamentally change how you approach finishing work.
Understanding the Sanding Combo: Basics and Benefits for Carpenters
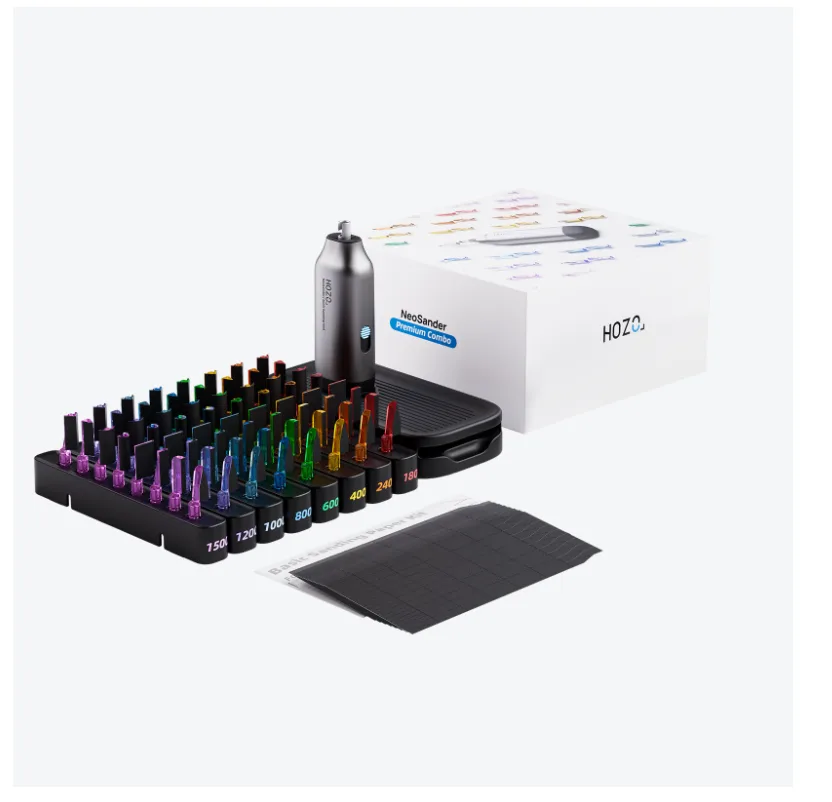
A sanding combo refers to a multi-tool sanding system that combines different sanding capabilities—typically integrating belt, disc, and orbital functions—into a unified setup. These systems allow carpenters to switch between coarse material removal and fine finishing without changing stations, streamlining the workflow from rough shaping to final surface preparation. The versatility means you can address end grain, face grain, and curved profiles within a single work session, adapting grit selections and contact angles as the piece demands.
For carpenters focused on delivering flawless results, the sanding combo serves as the bridge between rough milling and a finish-ready surface. However, the tool’s effectiveness hinges entirely on knowing where and how much material to remove. Sanding without precise reference points leads to uneven thickness, tapered edges, and surfaces that refuse to sit flush during assembly. This is where measurement becomes inseparable from the sanding process itself. A carpenter who understands the exact high and low points of a workpiece before engaging the abrasive can remove material strategically rather than uniformly, preserving dimensional integrity while achieving the smoothness the project requires. High-quality sanding combos reward this precision-first approach by delivering consistent, controllable contact pressure across their working surfaces.
The Power of Laser Measuring Tools and Digital Rulers in Precision Measuring
Laser measuring tools and digital rulers have fundamentally shifted how carpenters approach precision measuring in their projects. Unlike traditional tape measures or straightedges that rely on human interpretation of markings, these digital instruments deliver readings to fractions of a millimeter, eliminating parallax errors and the accumulated inaccuracies that compound across a workpiece. A laser measuring tool projects a reference line or captures distance data instantly, allowing you to map surface irregularities, check flatness across long spans, and identify material thickness variations before any abrasive touches the wood.
Digital rulers complement this capability by providing contact-based measurements with electronic precision, ideal for checking edge thickness, verifying depth of material removal, and confirming that sanded surfaces meet target dimensions. Together, these tools create a closed-loop measurement system—you assess the workpiece digitally before sanding, then verify the outcome with the same level of accuracy afterward. For projects requiring exact dimensions, such as fitted joinery, inlay work, or panel matching, this approach eliminates the trial-and-error cycles that waste both time and material. Carpenters who adopt laser measuring tools and digital rulers into their sanding workflow gain repeatable accuracy that traditional methods simply cannot match, turning precision measuring from a skill-dependent variable into a reliable, consistent process.
Step-by-Step Guide to Using Sanding Combo with Laser Measuring Tools
Combining your sanding combo with laser measuring tools follows a logical progression: measure, configure, execute, and verify. Each step builds on the previous one, creating a workflow that eliminates guesswork and produces consistently accurate results.
Step 1: Precise Measurement with Laser Tools
Begin by placing your workpiece on a flat reference surface and using a laser measuring tool to scan across its length and width. Project a laser line along the surface to identify high spots, low areas, and any twist or bow in the material. Record thickness readings at multiple points—corners, center, and midpoints along each edge—to build a complete picture of where material needs removal. The key to avoiding errors at this stage is ensuring your laser tool rests on the same reference plane as your sanding surface. Any tilt in the measuring setup translates directly into inaccurate readings, so confirm your reference is true before capturing data. Mark problem areas directly on the workpiece with pencil to create a visual sanding map.
Step 2: Setting Up Your Sanding Combo Based on Measurements
With measurement data in hand, configure your sanding combo to match the task. If your laser readings reveal material removal exceeding half a millimeter, start with a coarser grit on the belt sander component to bring high points down efficiently. For variations under that threshold, the disc or orbital function with a medium grit provides more controlled removal. Adjust tracking and table angles based on where your measurements indicate the most material needs to come off. Calibrate your sanding combo’s fence or guide to the target dimension identified during measurement, ensuring that each pass removes material toward your goal rather than beyond it.
Step 3: Executing the Sanding Process with Enhanced Precision
During sanding, reference the marks you made during the measurement phase to concentrate effort where it matters most. Rather than running the entire surface uniformly across the abrasive, focus on high spots first, checking progress frequently. Use your laser tool to project a straight reference line across the workpiece between passes—if light passes under the line at any point, that area still needs attention. Work methodically from coarse to fine grits, and maintain consistent feed pressure to avoid creating new low spots while correcting existing ones.
Step 4: Verifying Results with Digital Rulers
After completing your sanding passes, use a digital ruler to take contact measurements across the finished surface. Check thickness at the same points you recorded initially and compare readings to confirm uniform material removal. If any area shows a deviation greater than your project tolerance, return to the sanding combo with a fine grit for targeted correction. This verification step closes the loop—your digital ruler confirms whether the sanding combo achieved what the laser measurement identified as necessary, giving you confidence the surface meets specification before it moves to assembly or finishing.
Why HOZO Products Excel in Precision Measuring for Carpenters
When carpenters invest in measuring tools, they need instruments that perform reliably job after job without drifting out of calibration or failing under workshop conditions. HOZO products have earned recognition among professionals precisely because they address these practical demands. Their precision measuring instruments are engineered for the realities of a carpentry environment—sawdust, vibration, temperature fluctuations, and the inevitable drops that happen on active job sites. The build quality reflects an understanding that a tool is only as good as its consistency over time, not just its accuracy on day one.
What sets HOZO apart for carpenters integrating laser measurement into their sanding workflow is the intuitive interface design paired with measurement resolution that matches professional tolerances. Rather than requiring extensive setup or interpretation, these tools deliver clear, immediate readings that translate directly into actionable sanding decisions. The durability factor matters equally—aluminum housings, protected lens assemblies, and robust electronic components mean these instruments maintain their precision measuring capability through years of daily use. For carpenters who view their tools as long-term investments rather than disposable accessories, HOZO represents the kind of reliability that justifies the commitment. When your measurement tool consistently delivers trustworthy data, every downstream process—including your sanding combo work—benefits from that foundation of accuracy.
Best Practices for Carpenters: Ensuring Longevity and Accuracy
Maintaining your sanding combo and laser measuring tools requires consistent attention, but the payoff is years of reliable performance. For your sanding combo, clean dust from tracking mechanisms and platen surfaces after every session—accumulated debris affects contact pressure and creates uneven removal patterns. Inspect belts and discs for glazing or uneven wear, replacing them before they compromise surface quality. Periodically check table flatness with a known straight reference, as vibration can shift alignments over time.
Laser measuring tools and digital rulers demand their own care routines. Store them in protective cases away from extreme temperature swings that can affect electronic calibration. Clean lens surfaces with microfiber cloths rather than shop rags, which carry abrasive particles that scratch optical components. Verify calibration monthly by measuring a known reference standard—a precision-ground gauge block works well—and note any drift before it affects your project outcomes. Keep battery contacts clean and replace batteries before they’re fully depleted, as low voltage can produce erratic readings without obvious warning. Carpenters who build these maintenance habits into their weekly routine find that their tools remain accurate far longer than those subjected to neglect. Quality instruments reward consistent care with consistent results, making your investment in precision measuring tools and sanding equipment deliver value across hundreds of projects rather than degrading into unreliable guesswork.
Achieving Professional Finishes Through Measurement-Driven Sanding
The integration of a sanding combo with laser measuring tools represents a fundamental shift in how carpenters approach surface finishing. Rather than relying on touch and intuition alone, this combination creates a data-driven workflow where every pass of the abrasive serves a measured purpose. From the initial laser scan that maps surface irregularities to the final digital ruler verification that confirms dimensional accuracy, each step builds confidence that the finished piece will perform exactly as intended during assembly.
This approach directly addresses what carpenters need most: repeatable precision without sacrificing efficiency, and durable tools that maintain their accuracy across years of demanding use. The measurement-sand-verify cycle eliminates wasted material, reduces rework, and produces surfaces that fit together on the first attempt. For professionals ready to elevate their finishing work beyond what guesswork can achieve, adopting laser measuring tools alongside a quality sanding combo is the clearest path forward. Start by integrating measurement into your next sanding session—map the surface, sand with intent, and verify the outcome. The difference in your results will make the case better than any guide ever could.