



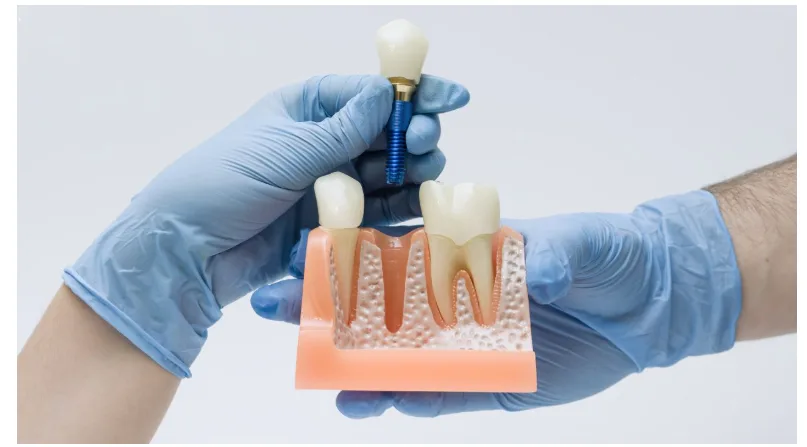
An implant component may be replaced in a supplier catalog because of a new reference number, packaging update, design revision, or product discontinuation. A similar name or appearance does not establish that the new item can replace the component already documented in a patient’s record.
Before approving a replacement for clinical stock, the practice should verify the change across the implant, prosthetic, surgical, and laboratory workflow. Use these seven steps.
1. Preserve the Original Product Record
Begin with the exact component currently approved by the practice.
Record:
- Manufacturer
- Product line
- Component name
- Catalog or reference number
- Connection
- Platform
- Dimensions
- Material
- Screw and driver
- Lot information
Keep the original label, instructions, and purchasing record. Do not replace the old entry before the review is complete because the practice may still have patients or stock associated with it.
Mark whether the component is unavailable, discontinued, or simply listed under a different reference.
2. Obtain the Change Documentation
Request documentation explaining what changed and when the new item became effective.
The review may require:
- Updated instructions for use
- Product-change notice
- Technical specifications
- Compatibility statement
- New catalog reference
- Packaging comparison
- Sterilization information
- Regulatory or market documentation
A sales description alone may not identify a change in thread, connection geometry, material, dimensions, or intended application.
Record the source and date of every document used in the decision.
3. Compare the Components Field by Field
Create a direct comparison rather than relying on a general statement that the products are equivalent.
Check:
- Intended use
- Implant connection
- Platform
- Diameter and height
- Angulation
- Thread design
- Screw reference
- Driver interface
- Material
- Tightening instructions
If one field differs, determine how that difference affects seating, restoration design, instrumentation, laboratory work, or future retrieval.
Visual similarity should be treated only as an observation, not evidence of compatibility.
4. Verify the Complete Product System
Clinicians reviewing implant and prosthetic options through GDT should match every proposed replacement to the documented product line, connection, platform, screw, driver, and intended clinical application.
The review should also confirm whether the change affects:
- Healing components
- Impression copings
- Scan bodies
- Analogs
- Temporary components
- Definitive abutments
- Surgical or prosthetic drivers
- Digital libraries
A replacement may fit the implant while requiring a different screw, driver, laboratory part, or digital file. Approve the complete workflow rather than one isolated component.
5. Review Existing Patient Cases
Identify patients whose records contain the original component or related implant system.
The practice may need to preserve information about:
- Implant site
- Component placed
- Restoration type
- Screw reference
- Driver
- Tightening protocol
- Laboratory records
- Future maintenance needs
Do not alter historical patient records to show the new product reference. Add the replacement information as a separate note when it becomes clinically relevant.
Retain enough original stock or verified replacement access for foreseeable maintenance when appropriate.
6. Test the Updated Workflow
Before routine use, confirm that the practice and laboratory can identify, order, handle, and document the replacement correctly.
Check:
- Ordering description
- Package label
- Storage location
- Tray setup
- Compatible instruments
- Reprocessing requirements
- Laboratory prescription
- Digital workflow
- Patient-record entry
Use training models or nonclinical verification methods where appropriate. Do not test uncertain compatibility by forcing a component into a patient’s implant.
Resolve discrepancies before scheduling the replacement for clinical use.
7. Approve and Communicate the Change
Record the responsible clinician’s decision and the date the new component becomes active.
Update:
- Approved-product list
- Ordering system
- Inventory location
- Setup instructions
- Laboratory guidance
- Staff training
- Reorder point
- Substitute restrictions
Separate or remove obsolete stock according to the practice’s procedure. Make sure an old package cannot be selected accidentally after the replacement becomes standard.
Keep Both Product Histories Traceable
A controlled replacement process should preserve the identity of the original component while documenting why the new one was approved.
Field-by-field comparison, system-level compatibility checks, patient-record protection, and staff communication help the practice manage product changes without relying on memory or appearance.
