
If you’ve ever reached the end of a busy freelance week only to realize you forgot to log half your hours, you know the sinking feeling of lost revenue. Between juggling client calls, deep creative work, and the dozen small tasks that fill the gaps, manually tracking billable time often falls to the bottom of the priority list. The result? Under-billing, awkward invoice disputes, and hours spent reconstructing your workday from memory and scattered notes. The real cost isn’t just financial—it’s the mental drain of administrative busywork eating into time you could spend earning or recharging.
The fix doesn’t require an expensive subscription. A well-configured, time clock no monthly fee system can automate the tedious parts of hour tracking, calculate totals instantly, and hand you clean data ready for invoicing. This guide walks you through setting up exactly that—a free, reliable time clock tailored to freelance workflows. You’ll learn which features actually matter, how to configure them for your specific projects, and how to turn raw tracked hours into professional invoices without touching a calculator. Let’s eliminate the guesswork and get you paid accurately for every minute you work.
Why Every Freelancer Needs a Zero-Cost Time Clock System
The gap between hours worked and hours billed is where freelance income quietly disappears. Studies on independent workers consistently show that freelancers who track time manually under-bill by 10 to 25 percent—not because they’re generous, but because memory is unreliable. That five-minute email exchange that turned into a twenty-minute research rabbit hole, the quick revision that stretched across half an afternoon—these fragments vanish when you rely on end-of-day recollection. Over a month, those lost fragments add up to entire invoices left on the table.
Beyond the financial hit, there’s a psychological cost. Freelancers who use notepads or basic spreadsheets often report spending Sunday evenings piecing together their week, cross-referencing chat timestamps and calendar entries just to produce a rough estimate. That’s unpaid administrative labor competing directly with rest, family time, or the next paying project. The mental load of wondering whether your records are accurate introduces a low-grade stress that compounds over time, eroding confidence when presenting invoices to clients.
A dedicated time clock system—one that runs in the background, logs start and stop times automatically, and calculates totals without intervention—eliminates both problems simultaneously. You get precise records and reclaim the hours previously spent on reconstruction. The critical qualifier here is “zero cost.” Many robust tools lock essential features behind monthly subscriptions that feel manageable at first but stack up alongside other SaaS expenses. For a bootstrapped freelancer, every recurring fee must justify itself against revenue. A no-monthly-fee time clock delivers the same automation and accuracy without becoming another line item eating into margins. It scales naturally: whether you bill ten hours a week or fifty, the overhead stays at zero, letting your net income grow in direct proportion to your effort rather than being siphoned off by tools meant to support that effort.
Core Features to Look For in Your Free Time Clock Tool
Not every time tracking app deserves a spot on your device. The freelance market is flooded with tools that look polished in screenshots but crumble under real-world use—missing the specific capabilities that transform raw clock-ins into billable intelligence. Before you commit to any platform, evaluate it against three non-negotiable features that separate genuinely useful tools from glorified stopwatches.
Automatic Hour Calculation: Your Personal Billing Assistant
At its simplest, automatic hour calculation means the tool records your punch-in timestamp, captures your punch-out, and computes the duration without you ever opening a calculator. But the real power emerges when this runs across an entire billing period. Imagine finishing a Friday afternoon and pulling up a dashboard that already shows 34.5 hours distributed across four clients, with dollar amounts attached to each. That’s what proper automatic calculation delivers—it eliminates the transcription errors that creep in when you’re manually entering “2:15 PM to 4:47 PM” into a spreadsheet and rounding incorrectly. For freelancers billing multiple clients at different rates, this single feature can recover an hour or more of administrative work per week and virtually eliminate invoice disputes rooted in arithmetic mistakes.
Customization Rules for Complex Projects
Freelance work rarely follows a single billing structure. You might charge one client in fifteen-minute increments, round up for another, or apply a premium rate for weekend revisions. Customization rules let you encode these policies once so the system applies them automatically going forward. Look for tools that support per-project rounding intervals, multiple hourly rates tied to specific task categories, and overtime thresholds that trigger adjusted calculations after a set number of daily hours. Without these rules, you’ll find yourself manually adjusting reports before every invoice—exactly the kind of post-processing busywork a time clock should eliminate. During setup, which we’ll cover shortly, configuring these rules upfront prevents billing inconsistencies from compounding across weeks of tracked work.
GPS-Restricted Punch-In for Location-Sensitive Work
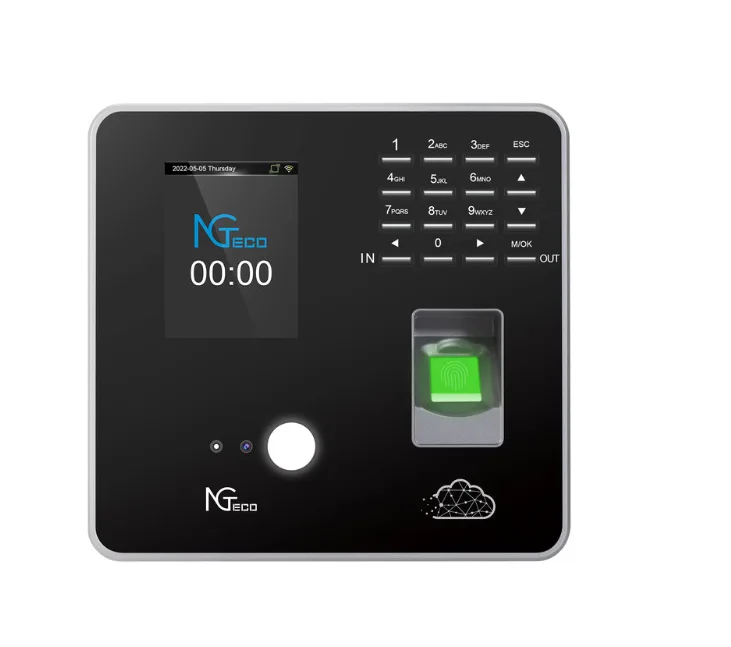
If any portion of your freelance work happens on-site—personal training sessions, photography shoots at a client’s venue, IT support at an office—GPS-restricted punch-in adds a layer of accountability that benefits both you and your client. This feature uses geofencing to allow clock-ins only when your device is within a defined radius of the work location. For the freelancer, it creates indisputable proof of presence that strengthens your position if a client questions billed hours. For niche professionals like tutors or consultants who split time between remote and in-person sessions, it also provides a clean separation in reports, making it obvious which hours were location-dependent without manual tagging after the fact. Hardware-focused companies like NGteco have also entered this space with physical time clock devices that incorporate biometric and GPS features, offering freelancers who prefer a dedicated hardware solution an alternative to app-only approaches.
A Step-by-Step Guide to Setting Up Your No-Fee Time Clock
Knowing which features matter is only half the equation. The difference between a time clock that actually gets used and one that collects digital dust comes down to how well you configure it during that first sitting. Block out thirty minutes, follow these four steps, and you’ll have a system running by the end of the session that requires almost no daily maintenance going forward.
Step 1: Choosing and Registering for the Right Tool
Start by matching your workflow to the tool’s strengths. If you work exclusively from a laptop, a browser-based tracker with keyboard shortcuts will serve you better than a mobile-first app. If you split time between on-site and remote work, prioritize apps offering both a phone interface and desktop sync. Check three things before signing up: that the free tier includes unlimited time entries (some cap at a certain number per month), that it allows data export in CSV or PDF format, and that it doesn’t watermark or restrict reports behind a paywall. Tools like Clockify, Toggl Track’s free plan, and TimeCamp’s solo tier all meet these criteria. Registration typically requires only an email address—skip any tool demanding a credit card for a free account. Once you’re in, resist the urge to explore every menu. Move directly to configuration.
Step 2: Configuring Projects, Clients, and Rates
Create a client entry for each person or company you bill separately. Under each client, add projects or task categories that reflect how you actually segment your invoices—”Website Redesign,” “Monthly Retainer,” “Ad Hoc Consulting.” Then attach your hourly rate to each project. If you charge a flat rate for certain deliverables, you can still use time tracking for internal profitability analysis by assigning an equivalent hourly figure. This structure ensures that every minute you clock lands in the correct billing bucket automatically, eliminating the end-of-month sorting ritual that eats into weekends.
Step 3: Activating Automation: Timers, Rules, and Alerts
Now wire up the features that make the system self-sustaining. Enable idle detection so the timer pauses when you step away—this prevents inflated entries when you grab lunch mid-task. Set your rounding rules next: if a client’s contract specifies six-minute increments, configure the tool to round each entry to the nearest tenth of an hour. Add overtime thresholds if applicable, triggering a rate multiplier after eight daily hours on a specific project. Finally, turn on reminder notifications. A gentle ping when you’ve been working without an active timer for ten minutes catches the sessions that would otherwise go unrecorded. GPS geofencing, if your tool supports it, gets configured here too—drop a pin on your client’s location and set the allowed radius.
Step 4: Generating and Exporting Reports for Invoicing
At the end of your billing cycle, navigate to the reports section and filter by client and date range. The dashboard should display total hours, broken down by project, with dollar amounts already calculated based on the rates you entered in Step 2. Review the entries briefly—flag anything that looks unusually short or long—then export. Most tools offer PDF for client-facing summaries and CSV for importing into accounting software like Wave or QuickBooks. Attach the detailed time report to your invoice as supporting documentation. Clients rarely push back on hours when they can see timestamped, itemized proof, and you’ve just replaced an hour of manual invoice assembly with a two-minute export.
Top Free Time Clock Apps to Consider and Integrate
With the setup framework clear, here are three proven options worth your attention. Clockify stands out for freelancers who prioritize automatic hour calculation—its unlimited tracking across projects with real-time summaries means you never manually tally hours again, and the free tier has no entry caps. Toggl Track’s free plan shines in customization rules, letting you assign different rates per project, set rounding preferences, and tag entries with categories that map directly to invoice line items. For freelancers with on-site obligations, TimeCamp’s solo tier offers GPS-based tracking alongside automatic time capture that logs which applications and documents you’re working in—ideal for proving exactly when and where work happened. All three export to CSV and PDF without watermarks or restrictions, integrate with popular invoicing tools, and require no credit card to start. Pick the one that aligns with your primary need—calculation accuracy, billing flexibility, or location verification—then walk through the four-step setup above. You’ll have a fully operational, zero-cost time clock running before your next client session begins.
Start Tracking Every Billable Minute Without Recurring Costs
A no-monthly-fee time clock isn’t a nice-to-have productivity hack—it’s fundamental infrastructure for any freelancer who wants to get paid fully and accurately without sacrificing evenings to administrative reconstruction. The system you’ve just learned to build does three things that manual tracking never will: it captures every billable minute automatically, applies your custom billing rules without human error, and produces client-ready documentation in seconds rather than hours.
The features that matter most—automatic hour calculation, customization rules for varied billing structures, and GPS verification for on-site work—exist in free tools available right now. Combined with a thoughtful thirty-minute setup that organizes clients, projects, and rates from the start, these capabilities transform time tracking from a dreaded chore into a background process you barely notice. Your invoices become faster to produce, harder to dispute, and consistently more accurate. Stop reconstructing your week from memory. Open one of the tools mentioned above, walk through the four configuration steps today, and send your next invoice knowing it reflects every minute of value you delivered. The time you reclaim belongs to billable work, creative growth, or simply stepping away without guilt—because the system is handling the rest.