
FiveM has revolutionized the Grand Theft Auto V (GTA V) multiplayer experience by allowing players to create custom servers with unique modifications. One of the most popular customizations for FiveM servers is the use of Map Location Objects (MLOs). MLOs add new interiors, buildings, and locations to the game, enhancing the overall roleplaying experience. This guide will walk you through how to install FiveM MLO step-by-step to help you customize your server effortlessly.
What Are FiveM MLOs?
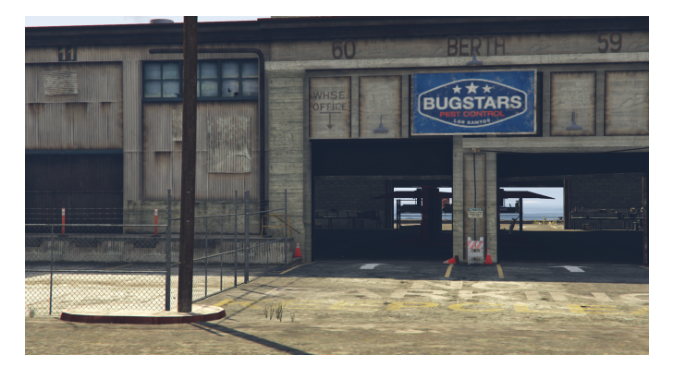
Before diving into the installation process, it’s essential to understand what MLOs are. MLOs are custom-made map modifications that introduce new interiors or redesign existing spaces in GTA V. They allow server owners to create unique environments that are perfect for roleplaying scenarios, such as custom police stations, nightclubs, or residential homes.
Prerequisites for Installing FiveM MLOs
Before you begin, make sure you have the following:
- A working FiveM server (hosted locally or through a provider)
- Access to your server files via FTP or a file manager
- The MLO files you want to install (usually in .rar or .zip format)
- Basic understanding of how to navigate server files
Step-by-Step Guide to Installing FiveM MLOs
Step 1: Download the MLO Files
Start by downloading the MLO you want to install. MLO files are typically distributed in compressed formats like .zip or .rar. Once downloaded, extract the files using a program like WinRAR or 7-Zip.
Step 2: Locate Your Server’s Resource Folder
Navigate to your FiveM server directory. Inside, find the “resources” folder. This is where all your server’s mods, scripts, and custom assets are stored.
Step 3: Create a New Folder for the MLO
In the “resources” folder, create a new folder named after the MLO you’re installing. For example, if you’re installing a custom nightclub, you might name the folder “custom_nightclub”.
Step 4: Upload the MLO Files
Copy all the extracted MLO files into the folder you just created. Ensure that the folder structure remains intact. Typically, MLO files include:
- stream folder (contains .ydr, .ytd, .ymap files)
- __resource.lua or fxmanifest.lua
- Optional data/config files
Step 5: Configure the Resource File
Open the __resource.lua or fxmanifest.lua file. If it’s missing, create one. For fxmanifest.lua, use the following template:
fx_version ‘cerulean’
game ‘gta5’
this_is_a_map ‘yes’
files {
‘stream/*.ytd’,
‘stream/*.ydr’,
‘stream/*.ymap’
}
data_file ‘DLC_ITYP_REQUEST’ ‘stream/*.ytyp’
Step 6: Edit the Server Configuration File
Open your server.cfg file located in the main server directory. Add the following line to ensure the server loads the MLO:
ensure custom_nightclub
Replace “custom_nightclub” with the name of the folder you created in the “resources” directory.
Step 7: Restart the Server
Restart your FiveM server to apply the changes. You can do this through your hosting panel or by running the restart command in the server console.
Step 8: Verify the Installation
Join your FiveM server and navigate to the location where the MLO is supposed to appear. Verify that the new interior or structure is loaded correctly.
Common Installation Issues and Fixes
Issue 1: MLO Not Loading
- Double-check that the folder name in server.cfg matches the folder in “resources.”
- Ensure the fxmanifest.lua file is properly configured.
Issue 2: Textures Not Appearing Correctly
- Make sure all texture files (.ytd) are included in the “stream” folder.
- Clear server cache and restart.
Issue 3: Conflicts with Other MLOs
- Avoid installing MLOs that modify the same game areas.
- Use unique folder names to prevent conflicts.
Conclusion
Installing FiveM MLO is a straightforward process that significantly enhances your server’s roleplaying environment. By following this step-by-step guide, you can easily integrate custom interiors and locations, offering players a more immersive experience.