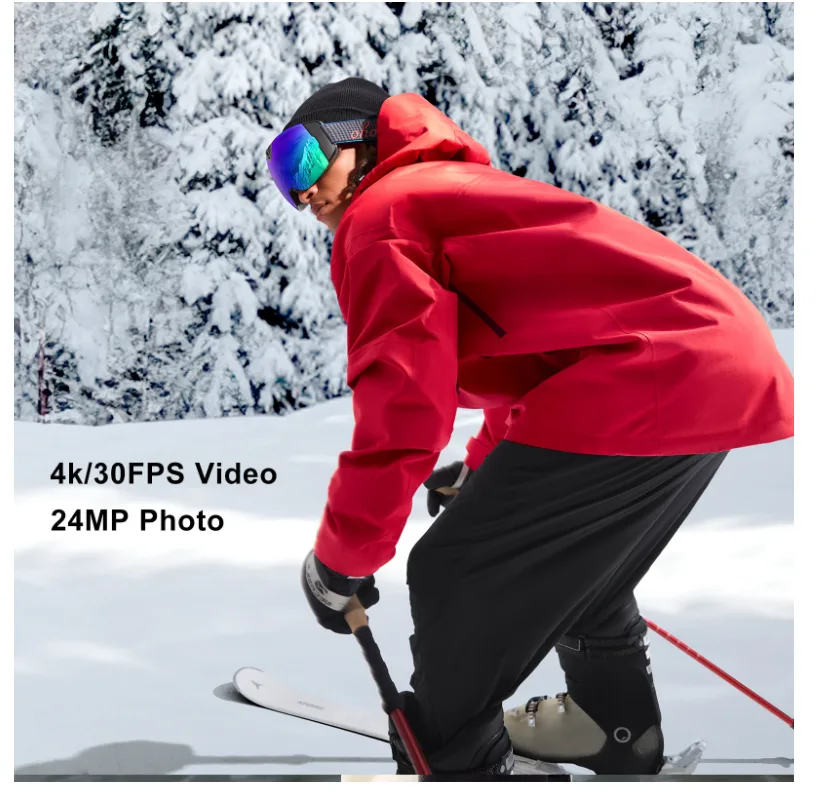
You’ve hiked for hours to reach a stunning mountain vista, or you’re carving through fresh powder on a perfect winter morning. But when you review your footage later, the scene looks flat, lifeless, and nothing like what your eyes witnessed. This is the frustrating reality of shooting in flat light—a condition that plagues outdoor content creators every time clouds roll in or snow blankets the landscape in uniform white. The vibrant depth you experienced in person simply vanishes on screen, leaving you with footage that fails to capture your audience’s attention.
Here’s where an unexpected tool enters the conversation: snow glasses. Not the goggles you wear on the slopes, but specialized lens filters originally designed for winter optics that can dramatically transform how your camera perceives low-contrast scenes. These affordable, lightweight accessories might be the missing piece between lackluster footage and the crisp, defined visuals your channel deserves. In this article, we’ll explore whether snow glass filters genuinely solve the flat light problem, how they work from a technical standpoint, and most importantly, how you can integrate them into your shooting workflow for reliable performance in mixed conditions and long recording sessions without interruption.
Understanding the Challenge: Why Flat Light is a Content Creator’s Nemesis
Flat light occurs when cloud cover, fog, or heavy snowfall diffuses sunlight so evenly that shadows virtually disappear. Without shadows, your camera loses the visual cues it relies on to render depth and dimension. Everything from a sweeping mountain ridge to a skier mid-turn gets compressed into a narrow band of similar tones—mostly gray and white. The result on screen is footage that looks two-dimensional, washed out, and frankly boring to watch, regardless of how spectacular the moment actually was.

For outdoor content creators, this presents a serious problem. Your audience expects visual impact. They want to feel the scale of a snow-covered peak or sense the speed of a descent through trees. When flat light strips away contrast, color saturation drops significantly—blues become muted, greens turn gray, and white snow loses all texture. Your footage becomes indistinguishable from a hundred other bland clips, making it nearly impossible to hold viewer attention past the first few seconds.
Compounding this challenge is the reality of mixed conditions. Mountain weather rarely stays consistent. You might start a shoot under blue skies, only to have clouds roll in within minutes, then break apart again an hour later. Each transition forces you to adapt your exposure settings, and without a reliable method to maintain contrast throughout these shifts, you end up with inconsistent footage that’s painful to edit into a cohesive piece. This unpredictability is precisely why a hardware-based solution—something that works passively regardless of changing conditions—becomes so appealing for creators who can’t afford to stop and reconfigure their setup every time the sky changes.
What Are Snow Glasses? More Than Just a Ski Accessory
When we talk about “snow glasses” in the context of videography, we’re not referring to the tinted goggles you strap on before hitting the slopes. Instead, this term describes colored lens filters—thin glass or resin discs that attach to your camera lens—specifically engineered to manipulate how light enters your sensor. Their primary function is selective wavelength filtering: they allow certain colors of light to pass through while blocking others, which fundamentally alters the contrast and color balance of your recorded image.

Different filter colors serve different purposes. A yellow or amber filter is the classic choice for flat light situations because it cuts through the blue-gray haze that dominates overcast skies, instantly adding warmth and definition to snow-covered landscapes. Rose or magenta-tinted filters take a slightly different approach, enhancing skin tones while still boosting contrast—a useful option if your content features people prominently against white backgrounds. Orange filters offer the most aggressive contrast enhancement, though they introduce a stronger color shift that requires more careful correction in post-production.
What makes these filters particularly attractive for outdoor creators is their simplicity. They require no batteries, no software, no complex setup. You screw one onto your lens or slide it into a filter holder, and it immediately begins working. Brands like ohosunshine have developed snow glasses with specialized tint technologies that outdoor enthusiasts appreciate for their optical clarity in winter conditions. At a fraction of the cost of a new lens or camera body, snow glass filters represent one of the most accessible upgrades available to creators who regularly battle flat, uninspiring winter light. They solve a hardware problem with hardware—no rendering time required.
The Technical Advantage: How Snow Glasses Combat Flat Light
To understand why a colored filter transforms flat light footage, think of it like this: on an overcast day, the sky acts as a giant diffuser, scattering blue-wavelength light everywhere and flooding your scene with cool, low-contrast illumination. Your camera sensor captures this faithfully—which is exactly the problem. It records what’s there: a narrow tonal range dominated by blue-gray wavelengths with minimal variation between highlights and shadows.
A yellow or orange snow glass filter works by selectively absorbing those dominant blue wavelengths before they reach your sensor. When blue light gets blocked, the relative intensity of other colors—warm tones in rocks, subtle golden hues in snow texture, the green of distant trees—increases proportionally. Think of it like turning down the volume on one instrument in a band so you can finally hear the others clearly. The scene hasn’t changed, but what your camera records now has measurably wider tonal separation.
The practical effects on your footage are immediately visible. Snow surfaces that previously appeared as featureless white suddenly reveal ridges, tracks, and subtle undulations because the filter darkens the blue-reflected light in shadowed areas while allowing warmer highlights to remain bright. Cloud edges gain definition against the sky. A skier wearing dark clothing pops against the background with stronger subject separation, giving your audience’s eyes something to track. Essentially, the filter creates artificial contrast where nature has temporarily removed it—restoring the visual depth your viewers expect without requiring any digital manipulation during the shoot itself.
Practical Solutions for the Outdoor Creator: A Step-by-Step Guide
Knowing the science behind snow glass filters is one thing—putting them to work reliably in the field is another. The following approaches address the two most common pain points outdoor creators face: dealing with rapidly shifting light and maintaining uninterrupted recording sessions throughout a full day of shooting.
Solving for “Performance in Mixed Conditions”
Mountain weather is notoriously fickle, and your filter strategy needs to match that unpredictability. Start by assessing conditions before you leave camp. If the forecast calls for heavy overcast with occasional breaks, choose a medium-density yellow filter—it provides meaningful contrast enhancement without over-warming your image when the sun briefly appears. For thick fog or complete white-out conditions, step up to a darker amber or orange filter that works harder to separate tones in an almost monochromatic scene.
Carry at least two filter strengths in your pack. A light yellow and a medium amber cover roughly ninety percent of flat light scenarios you’ll encounter. When conditions shift mid-shoot, swapping a screw-on filter takes under fifteen seconds—far faster than digging into camera menus to adjust multiple settings. If you prefer even more flexibility, consider a variable-density warm filter that lets you dial contrast enhancement up or down without changing glass.
The critical step most creators skip is adjusting white balance after mounting a colored filter. If you leave your camera on auto white balance, it will attempt to neutralize the filter’s warmth, effectively undoing the contrast benefits you’re paying for. Instead, set a manual white balance with the filter attached by pointing at a neutral gray surface or white snow. This locks in the enhanced tonal separation while preventing unnatural orange color casts that become difficult to correct later. Alternatively, shoot in a flat or log color profile and handle the precise correction in editing, where you have full control over how much of the filter’s character you retain.
Solving for “Long Recording Without Interruptions”
One of the greatest advantages of a snow glass filter is that it demands nothing from your camera’s power supply. Unlike electronic stabilizers, heated lens elements, or powered ND filters, a colored glass disc works passively from the moment you attach it until you remove it. This means zero additional battery drain during those long alpine shoots where every milliamp-hour counts and charging opportunities don’t exist.
However, filters that enhance contrast also tend to produce richer, more detailed footage—files that consume storage faster than flat, low-contrast clips. This is where pairing your filter with a high-capacity 32GB memory card (or larger) becomes essential for continuous recording. Running out of storage mid-descent or during a once-in-a-lifetime wildlife encounter defeats the entire purpose of improving your image quality. Calculate your card capacity against your recording format: at 100 Mbps in 4K, a 32GB card gives you roughly forty minutes of uninterrupted footage—enough for most single-session captures without swapping media.
Build your complete field kit around this philosophy of passive reliability. A snow glass filter handles contrast without power. Ample storage ensures continuous recording through changing mixed conditions. Two spare batteries cover the energy side. Together, these three elements—filter, storage, and power—form a lightweight system that lets you focus entirely on composition and storytelling rather than troubleshooting gear failures at fourteen thousand feet. Pack them in a single accessible pouch, and you’ll never miss a shot because you were fumbling through your bag during the golden moment.
Weighing the Pros and Cons: Is It Worth It for Your Channel?
The benefits of snow glass filters for outdoor video creators are compelling. They deliver immediate contrast improvement in flat light without requiring power, software, or technical expertise beyond screwing on a filter. They weigh almost nothing, cost a fraction of any other optical upgrade, and work consistently across camera brands and formats. For creators who shoot regularly in winter environments or overcast mountain conditions, the visual difference between filtered and unfiltered footage is often dramatic enough to noticeably improve audience retention—viewers stay engaged when they can actually perceive depth and texture in your shots.
On the other side, there are legitimate trade-offs to consider. Every colored filter reduces overall light transmission by roughly half a stop to a full stop, which means your camera compensates with a wider aperture, slower shutter speed, or higher ISO—any of which can introduce unwanted softness or noise in already dim conditions. There’s also a color correction learning curve: if you don’t nail your white balance in the field or shoot without a log profile, you may spend extra time in post removing unwanted warm casts from skin tones or neutral surfaces. And while filters are small, managing multiple discs in freezing conditions with gloved hands isn’t always graceful.
Compared to relying solely on post-production color grading, filters offer one distinct advantage: they capture more tonal information at the sensor level. You can grade flat footage to add contrast digitally, but you cannot recover detail that was never recorded because every tone in the scene fell within the same narrow range. A filter expands that recorded range before compression artifacts lock it in, giving you fundamentally better raw material to work with in editing. For channels focused on outdoor adventure content where flat light is a recurring obstacle rather than a rare inconvenience, the modest investment and minor workflow adjustments pay dividends across every upload.
Elevate Your Flat Light Footage With a Simple Filter Upgrade
Snow glass filters deliver exactly what outdoor content creators need in flat light: immediate, tangible contrast enhancement without complexity, power requirements, or significant cost. By selectively filtering blue-dominant wavelengths that flatten winter scenes, these simple optical tools restore the depth, texture, and color separation that make footage worth watching. They capture richer tonal information at the sensor level—detail that no amount of post-production grading can recreate from washed-out source material.
For creators who regularly face unpredictable mixed conditions on mountain shoots or overcast adventure days, a snow glass filter paired with smart field practices offers a reliable foundation for consistent visual quality. The workflow is straightforward: select the appropriate filter strength for your conditions, set manual white balance, and let the glass do its work passively while you focus on storytelling and composition. Complement this with a 32GB memory card (or larger) to ensure continuous recording of the richer, more detailed files your filter produces, and you have a lightweight system built for all-day reliability in demanding environments.
If flat light has been quietly undermining your outdoor content, the solution doesn’t require an expensive gear overhaul. Pick up a yellow or amber filter that fits your primary lens, head out on the next overcast day, and compare the results side by side. The difference will speak for itself—and your audience will notice.