

Yes, absolutely. And you’re not alone in thinking this. Shruti, a working professional with a packed schedule, noticed that the old tiles in her utility area had started popping up. Dust and water were beginning to creep in. Every time she tried to clean, the space felt worse. However, the thought of hiring a contractor, managing labour schedules, and dealing with a mess of cement and sand made her delay the work for weeks.
Until she asked herself: “Can I just do this myself?” The good news is – you can. If you want to save time, avoid the chaos of calling contractors, and still get a professional-looking tiled surface, you can absolutely go the DIY way using adhesive tile glue and tiles gap filler. In fact, laying tiles with grout is far simpler now with ready-to-mix products that are clean, quick, and reliable.
What You Need: Just Two Products

To lay and fix your tiles securely and seamlessly, you need:
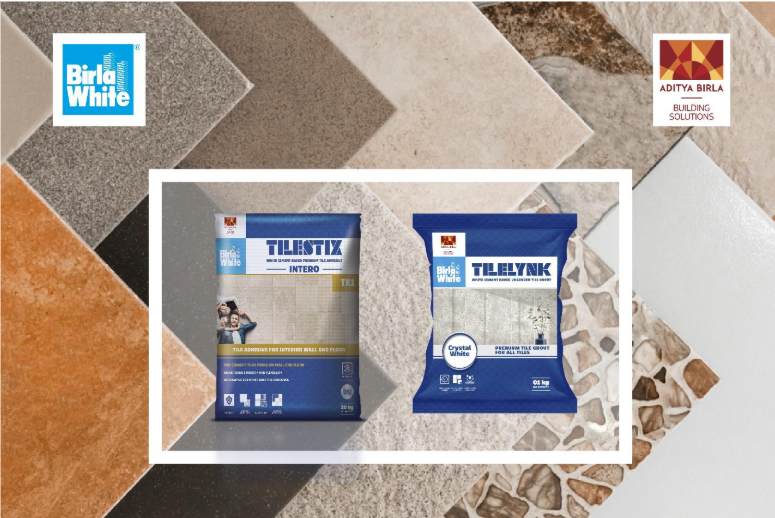
- Birla White TileStix Intero: It is a high-performance adhesive tile glue that’s easy to mix and apply. The white cement advantage helps bond better with the surface, working well on surfaces like cement plaster, concrete, and AAC blocks. This product is ideal for fixing ceramic and vitrified tiles on both floors and walls. Its sag-resistant formula ensures a smooth, mess-free application with minimal material wastage.
- Birla White Tile Grout: This product is a reliable tiles gap filler that delivers a crack-free, water-resistant finish. It helps to prevent moisture seepage and bacterial growth in tile joints. TileLynk Grout is suitable for indoor and outdoor use, comes in multiple shades to match your tiles, and is simple enough to mix and apply for DIYers.
Together, they offer a quick-fix system that’s ideal for small areas like utility spaces, balconies, kitchen backsplashes, or bathrooms.
What is the DIY-Friendly Application Procedure?
Here’s how Shruti got it done without any mess or labour.
Step 1: Prepare the Surface
Clean the area thoroughly. Remove any loose particles, dust, oil, or sealers. The surface should be slightly damp, not wet.
Step 2: Mix the Adhesive (Birla White TileStix Intero)
In a clean bucket, pour around 4.8–5.2 litres of water and gradually add 20 kg of tile adhesive powder. Mix well and let it sit for 5 minutes. Then remix before application.
Step 3: Apply the Adhesive
Spread the adhesive evenly on the surface using a notched trowel. For larger tiles, apply adhesives on the back of each tile to ensure firm bonding.
Step 4: Set and Cure
Press the tiles into place with a gentle twisting motion and let them set for 24 hours to allow proper curing.
Step 5: Grout the Gaps (Birla White TileLynk Tile Grout)
Once the tiles are set, fill the joints using Birla White Tile Grout and wipe off any excess material for a clean, finished look.
Why Are These Two Products Different?
| Feature | Birla White TileStix Intero | Birla White Tile Grout |
| Purpose | Adhesive tile glue for fixing tiles | Tiles gap filler for grouting |
| Ease of Use | Ready-mix, just add water | Smooth, easy application |
| Water Resistance | High bonding even in damp areas | Prevents water seepage through joints |
| Surface Compatibility | Floors and walls (internal and external) | Works with ceramic, vitrified, and more |
| Finish | No unevenness or hollows under tiles | Clean, durable and stain-resistant finish |
Shruti not only fixed her utility area in one weekend, but she did it with ease and confidence. No calls, no chaos, and no compromises. If you are looking to take control of your space, you don’t always need a contractor. Just the right tools and the will to DIY. With the right adhesive tile glue and tiles gap filler, you can easily lay tiles with grout that stay in place for years.